Best Location for a Home Sauna
Introduction to DIY Saunas
My Sauna Journey
So there I was, craving a chill-out zone after the daily grind—a place all mine to de-stress and relax. That’s how my adventure into DIY saunas kicked off. I wanted a soothing escape right at home where I could loosen up, ease my muscles, and enjoy some peace. With a head full of dreams and a pile of research, I decided to tackle building my own sauna, step by step. Along the way, I picked up a ton of handy tips and relished the magic of crafting a personal oasis in my own backyard.
Benefits of Having a Home Sauna
Having a home sauna has perks galore, boosting both body and spirit. Here’s what I discovered:
| Benefit | Description |
|---|---|
| Relaxation | Kicking back in a sauna melts away stress and tension, supercharging relaxation. |
| Improved Circulation | The rising heat gets your blood pumping, helping your body bounce back after workouts. |
| Detoxification | Sweat it out in the sauna to help your body shed toxins. |
| Skin Health | Better blood flow and a good sweat session can brighten up your skin. |
| Enhanced Sleep | Frequent sauna times can mean deeper, more restful shut-eye. |
| Social Space | A sauna doubles as a cozy hangout, perfect for fun times with family and friends. |
All these benefits combine to create a relaxing space that’s all about staying healthy and happy. When picking the best spot for a home sauna, I realized how convenient choices can boost both my enjoyment and the sauna’s use.
For anyone thinking about setting up their own, I checked out stuff like installing infrared saunas at home and figured out the differences between DIY setups and pro installations. Making smart picks helped me dodge typical snafus found in guides on sauna installation blunders and made sure I got the sauna electrical standards right for a safe setup.
Picking the Best Spot
Figuring out where to plop my home sauna was kinda a big deal. Where I put it can totally change not just how it works, but also how much I dig the whole sauna vibes.
When Thinking About Where to Put the Sauna
I had a few things dancing around my head while scouting the right spot for my DIY sauna. Here’s what I got checking off my list:
| Thing to Check On | Thoughts |
|---|---|
| Space Available | Do I have enough room for it? Normal saunas can be like 4’x4′ or even bigger. |
| Getting In and Out | Is it close by to other places I hang out in my house? Easy peasy entry means I’ll dig it more. |
| Chill Factor | Can I get some alone time in there? A quiet place makes the sauna chillax zone cooler. |
| Heating | Is there already some wiring or a spot to heat it up? Gotta have the juice for it to work. |
| Weather Stuff | If it’s going outside, what’s the weather like there? Crazy heat or rain might mess up the spot. |
Going Indoor vs Outdoor for Saunas
It hit me that there’s cool stuff about both inside and outside saunas. Here’s what I tossed around:
| Where It’s At | The Good Stuff | The Not-So-Good Stuff |
|---|---|---|
| Inside | – Anytime’s good – Super handy – Keeps crazy weather away |
– Needs fresh air popping through – Might need a home makeover – Electrical upgrades could be a thing (check home sauna electrical requirements) |
| Outside | – Nature boosts relaxation – There’s often more room – Less change inside the pad |
– Weather-dependent – Needs utilities out there – Gotta use tough materials to handle the weather |
Both spots have their kind of greatness. Mulling over how much space I had, how much privacy I wanted, and whether I could easily get to it helped me hit the sweet spot for my sauna dream. If you’re on a DIY sauna journey too, peep these home sauna installation mistakes so you don’t trip up.
Figuring out where to put it was the fun part. It helped me picture how the sauna would vibe in my day-to-day. If you’re thinking about cozying up with an infrared sauna at home, keep these things in mind too.
Indoor Sauna Setup
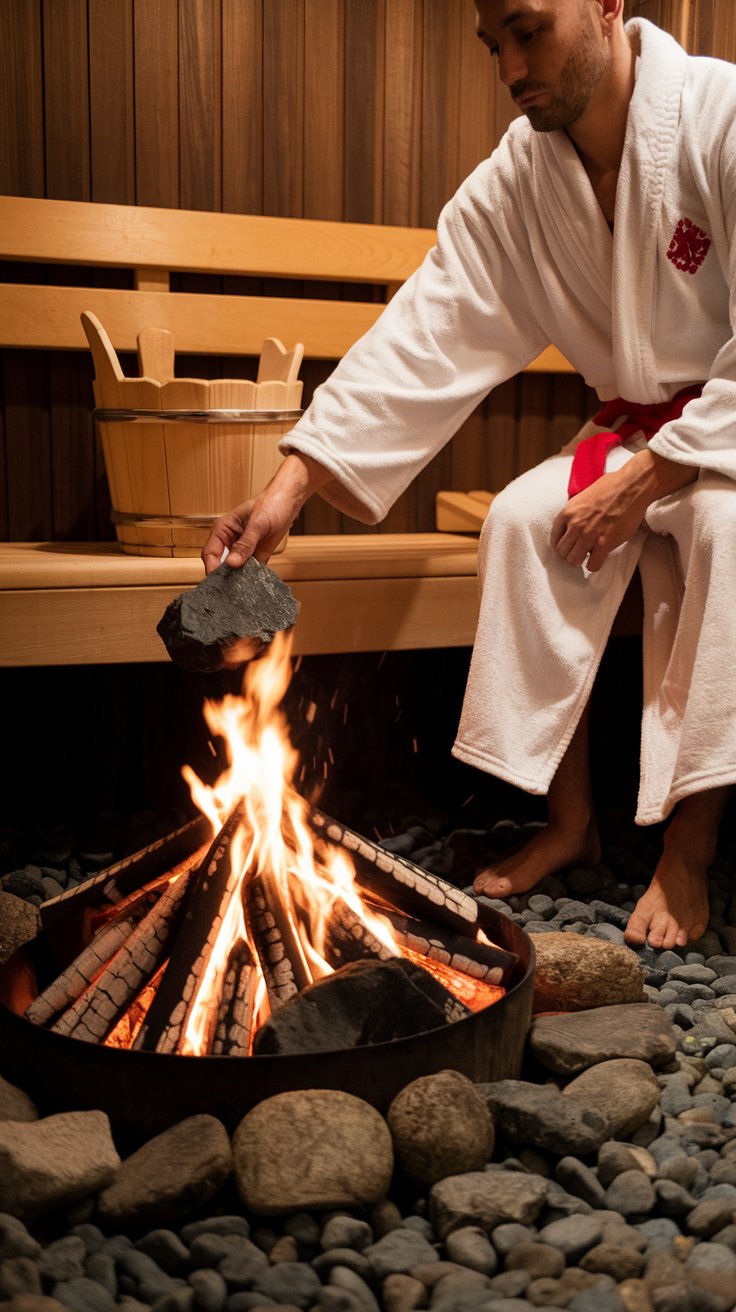
Getting an indoor sauna up and running is like adding a little slice of paradise to my daily routine. It’s a cozy nook where I can melt away stress with a personal heat therapy session. Let’s chat about how I managed to squeeze this steamy retreat into my home while making sure it’s safe and breezy.
Utilizing Existing Space for an Indoor Sauna
Kicking off my sauna project was all about snooping around the nooks and crannies of my home to find just the right spot. If you’re thinking of doing the same, here’s where you might scope out:
| Space Type | Pros | Cons |
|---|---|---|
| Basement | Roomy and secluded | Might need extra vents |
| Bathroom | Handy plumbing and close by | Limited wiggle room |
| Garage | Lots of space to play with | Needs a makeover for insulation |
| Spare Room | Loads of flexibility in size and style | Might call for some reno work |
I made sure my chosen space was conveniently close to water or power lines. It makes the sauna setup a breeze!
Required Ventilation and Safety Measures
Making my sauna safe and comfy meant cracking the code on proper airflow. Breathing easy is the name of the game, and here’s how I did it:
-
Air Intake and Exhaust: I popped in some vents to let the fresh air roll in and the steamy stuff roll out. The trick? One vent low and one up high to keep things flowing nicely.
-
Humidity Control: Keeping it from feeling like a swamp is key. I use a trusty hygro-thermometer to eyeball the moisture and heat levels.
-
Safety Measures: Before jumping in my steamy sanctuary, I ticked a few boxes:
- Installed a smoke detector nearby—better safe than sorry.
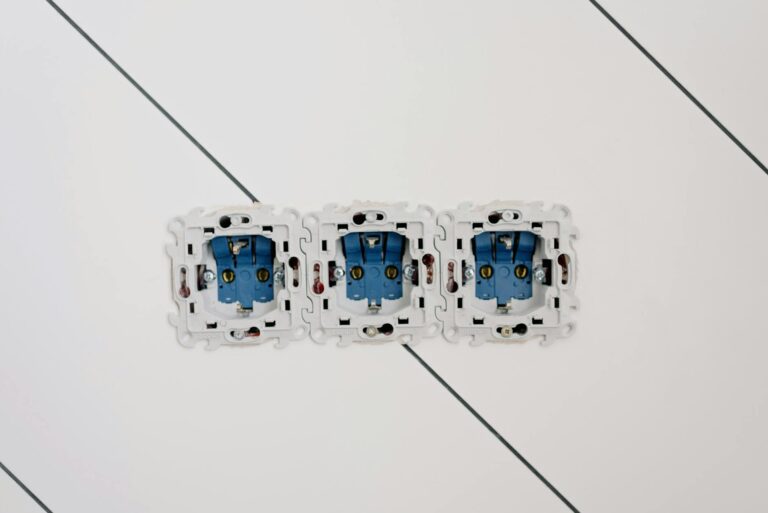
- Checked that all the electrical stuff was up to home sauna electrical snuff.
- Picked materials that won’t freak out under heat and humidity to dodge any fiery scenarios.
With these simple measures, my indoor sauna turned into a cozy haven that was safe and sound. From picking the perfect spot to fine-tuning those crucial features, I carved out a snug little escape to recharge my batteries. If you’re pondering over whether to go DIY or bring in the pros, you might want to peek at DIY sauna installation vs professional to figure out which game plan suits you best.
Outdoor Sauna Setup
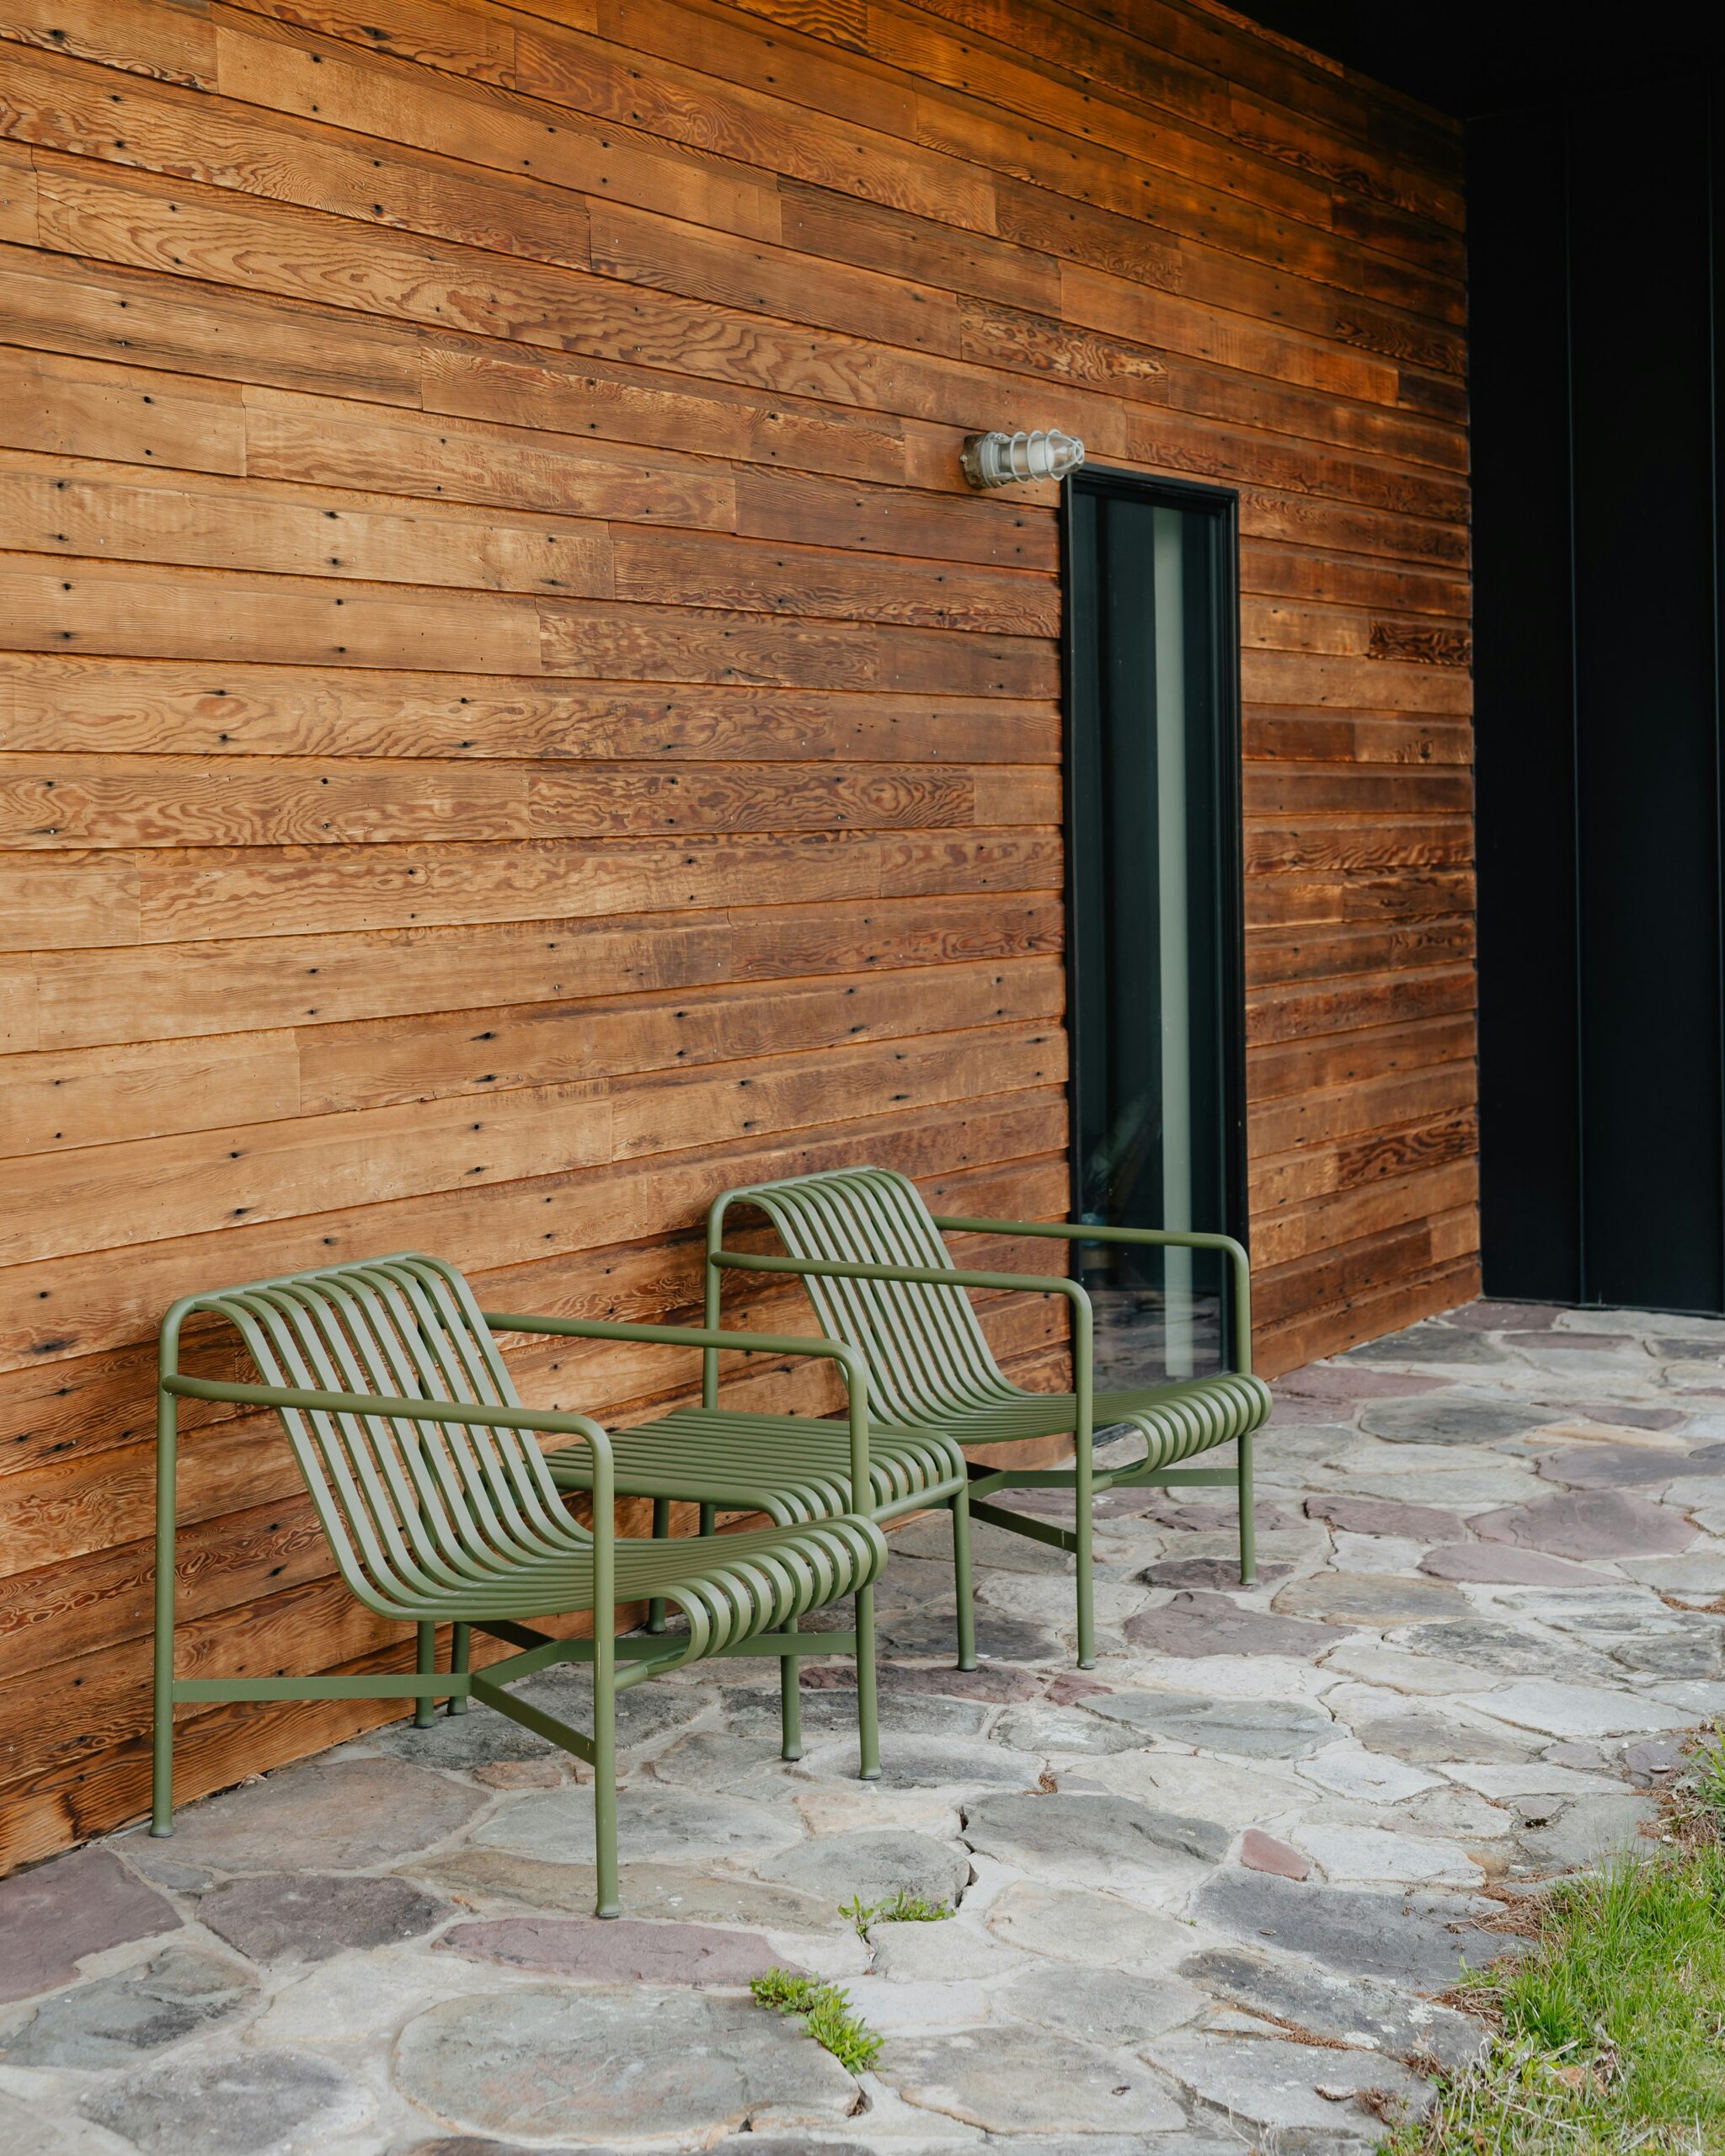
Jumping into setting up an outdoor sauna was a thrilling adventure for me. The first part of this journey was picking the perfect spot to make the most out of my sauna time. Here’s how I went about choosing the best site:
Ideal Placement for an Outdoor Sauna
When figuring out where to park my outdoor sauna, I had to think about a bunch of stuff. It needed to be a spot that wasn’t too far but felt like a world away — all about comfort and privacy. Here’s what I discovered:
| Factor | Why It Matters |
|---|---|
| Accessibility | It’s gotta be a quick hop, skip, and jump from home, especially when I’m feeling all blissed-out and relaxed afterward. |
| Sunlight | A mix of sun during the day for natural heat and some shade for those blazing summer months felt just right. |
| Privacy | A nice, tucked-away spot keeps things peaceful and private, so no neighbors peeping but still close enough to my everyday digs. |
| Views | Enjoying a tranquil view while unwinding is the cherry on top. Who doesn’t like a bit of nature therapy? |
Weather Considerations for Outdoor Saunas
Weather can definitely make or break the whole sauna vibe, so I had to think smart about it to keep things in top shape and comfy:
| Weather Element | What I Did |
|---|---|
| Rain | I set it up where rain wasn’t gonna drench the place, with some waterproofing magic to keep it dry as a bone. |
| Snow | If you’re in snow territory, think about how much that roof can hold and shoveling your way to the sauna when snow piles up. |
| Wind | Picking a spot with natural windbreakers like trees or a solid fence made sure I wasn’t battling the breeze. |
| Temperature | In chilly areas, I kept it cozy by sticking the sauna close to home, so the cold doesn’t chill the thrill when going from door to door. |
If you’re thinking of getting your own outdoor sauna groove on, getting these bits right makes it all the sweeter. Don’t forget about the electrical side of things if you’re running one with traditional heaters. Check out more details in our home sauna electrical requirements. And if you’re curious about what not to do, see our advice on home sauna installation mistakes.
With the spot nailed down and weather wrangled, my outdoor sauna has turned into the perfect hideaway for relaxation and good vibes.
Personal Touches and Customization
Turning my sauna into a cozy haven that screams me is key to really basking in the whole experience. Here’s how I sprinkle a bit of magic and a whole lot of me into my sauna.
Enhancing the Vibe in My Sauna Spot
The whole chill vibe of the sauna is a big deal when it comes to unwinding. I’ve got some tricks up my sleeve to make it just right for kicking back.
| Thing | What I Do |
|---|---|
| Lighting | Soft, adjustable lights work wonders. I like dimmable LEDs or those cool aromatic salt lamps the best. |
| Sound | A little calming music or nature sounds make it nice. Bluetooth speakers get the job done just right. |
| Smell | Essential oils or aromatic herbs make it smell great. Eucalyptus or lavender are my go-tos for relaxing vibes. |
| Decor | Plants and art give it a personal touch. Natural goodies like wood and stone keep it looking chill. |
Making My Sauna Experience All About Me
This is where I get to put my stamp on things. Here’s what works for me.
| How I Add My Touch | What’s in It for Me |
|---|---|
| Temperature Tweaks | The adjustable thermostat is a lifesaver—perfect temp every time. |
| How I Sit | Playing around with seats, maybe a built-in bench or plush cushions, fits my lounging just right. |
| Towel and Robe Game | Only the softest towels and my fave robe—luxury mode on. |
| Drink Spot | A little side table for herbal teas or spa water adds extra zen to my sauna time. |
When scoping out the perfect spot for my home sauna, I make sure all these personal tweaks are at arm’s reach. It’s all about making it a one-of-a-kind chill zone that I love. For more tricks on jazzing up my sauna, I peek at guides on setting up an infrared sauna at home and weighing DIY vs pro sauna installation to keep me in the right lane.
Maintenance and Care
Cleaning and Upkeep for Your DIY Sauna
Taking care of my sauna is a top priority—not just to keep it looking good, but to make sure it’s safe and fun to use. Regular cleaning keeps out the gunk, mold, and weird smells that nobody wants. Here’s my no-fuss routine to make sure everything stays as fresh as a daisy:
| Task | How Often | What You’ll Need |
|---|---|---|
| Give benches and walls a wipe | After each use | Soft cloth or sponge, mild soap |
| Sweep up or use a vacuum | Weekly | Broom or vacuum |
| Freshen up the heater | Monthly | Soft brush, cloth |
| Deep dive clean (floors too!) | Every few months | Vinegar or sauna cleaner, mop |
One thing I never do is use harsh chemicals. They’re no good for the wood and can mess with the air inside the sauna. For those extra stubborn spots, a mix of vinegar and water is my go-to.
Ensuring Longevity and Efficiency of Your Sauna
To make sure my sauna sticks around and keeps working like a charm, I focus on a few important things. Here’s what I usually do:
-
Temperature Management: I steer clear of cranking it up too high. I keep it cozy between 150°F and 195°F (65°C to 90°C). Keeps me comfy and the wood happy.
-
Ventilation: Good airflow is a must for keeping moisture at bay—mold is not invited to this party. I make sure there’s plenty of space for the air to circulate.
-
Regular Check-ups: I keep an eye out for any cracks or water damage, especially around the heater and the walls. Catching it early can save me from big headaches later on.
Here’s a quick list to keep things running smoothly:
| Task | How Often |
|---|---|
| Inspect wood for cracks or bends | Monthly |
| Check out electrical bits | Twice a year |
| Clean heater bits and bobs | Twice a year |
| Test the sauna controller | Once a year |
Sticking to these steps means I get to chill in my sauna for years to come and soak in all the good vibes it has to offer. If you’re thinking about setting up your own sauna, you might want to check out common sauna installation mistakes to steer clear of any issues or peek at the sauna electrical requirements to make sure everything’s wired up just right.



3 Comments
Comments are closed.